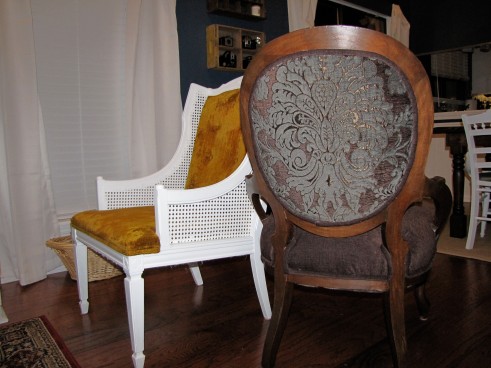
Stranger…
Looooong hiatus.
I will be moving these posts (and probably updating some photos) to my new blog:
There I am writing about life in a new town. There will be recipes, DIY projects, musings, and inspirations.
– Abby
DIY: Revamp that Lamp!
It always gets me when I see a designer selling a simple product for hundreds of dollars. Products that you know took less than $10 and 10 minutes to make, but since the product has their name on it and some fancy words in the item description, they will have people “ooo-ing” and “ahhh-ing” over it.
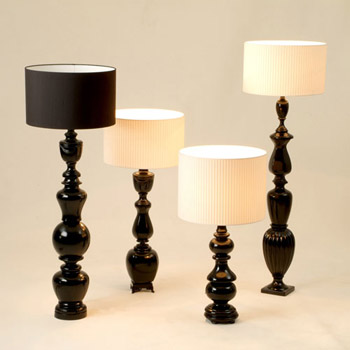
Prime example: These lamps by designer Ryan McElhinney.
These lamps are “coated in Polyurethane spray finish” (aka spray paint) and “made to order from £500″ ($772.25 US). Seriously? I mean, I get that there are people who don’t have time to do their own projects and use money like it’s toilet paper, but there is just something in me that can not justify a purchase like that.
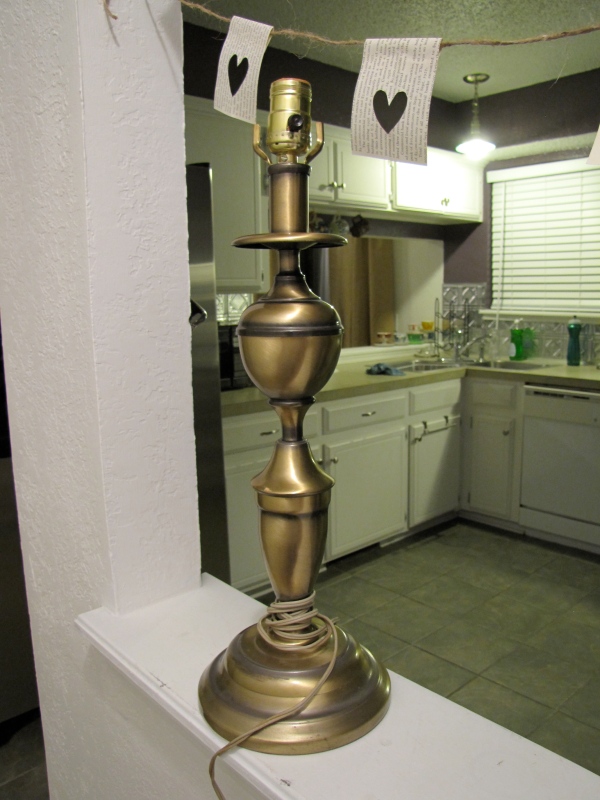
Here is a lamp I found at the thrift store for $3.00. I’m pretty sure I had a few of these around my house in the 80s. You might search around in your parent’s attic, who knows, you may get lucky and find an old lamp for free!
I taped off the electrical cord and light switch and put a few coats of red spray paint left over from another project. After the paint dried, I topped the lamp off with a $2.00 shade from Ross.
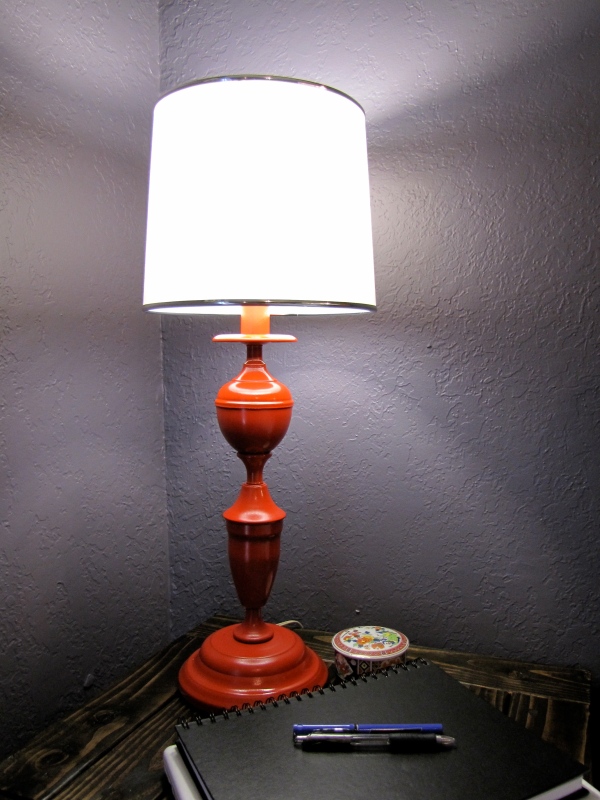 So there it is – my $5 lamp. What do you think? Should I try selling it for $500?
Pita Pizza
Pita pizzas are one of the easiest things to make. It’s my go-to meal when I am too lazy to cook, but still want something delicious and homemade.
Ingredients
pita
canned marinara sauce
mozzarella cheese, shredded
your choice of toppings
olive oil
1. Preheat oven to 400 degrees.
2. Drizzle olive oil on bottom of pita. Top pita with marinara, cheese, and other toppings. I decided to top mine with Roma tomatoes and a dash of Italian seasoning.
 3. Cook for 15-20 minutes or until the pita is slightly crispy.
I wanted to add a little pop of flavor to my pizza, so when the pizza was done cooking, I drizzled it with a balsamic reduction.
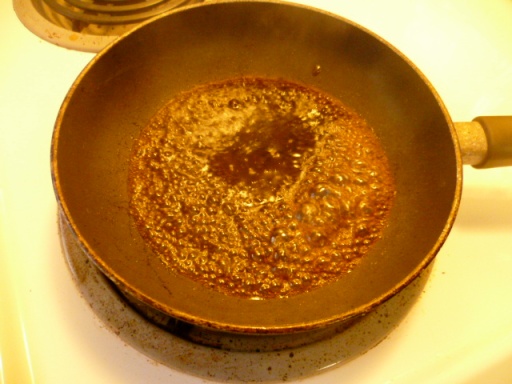
1. In a small pan, bring balsamic vinegar to a boil. The vinegar will reduce by about half, so measure vinegar accordingly. (I wanted mine to be a little sweeter than normal, so I added a tablespoon of sugar to the balsamic vinegar.)
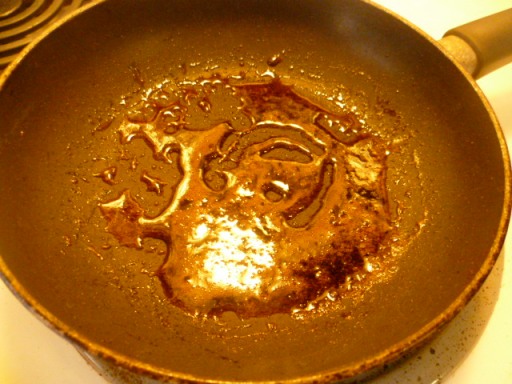
2. Reduce heat to a simmer and stir until balsamic vinegar has the texture of syrup. I started out with a few tablespoons of vinegar and had more than enough to drizzle over my pizza. Since I didn’t use that much vinegar, it only took a few minutes to reduce.
So delish! The balsamic reduction really makes a difference.
How To: Reupholster a Club Chair
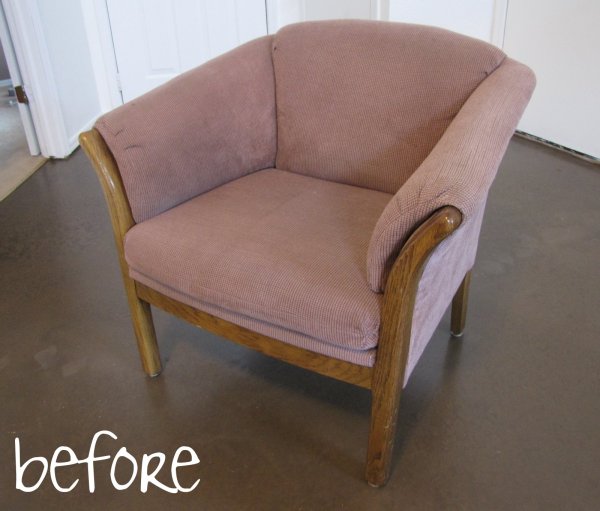
I found 2 of these accent chairs in my neighbor’s yard for Big Trash Day. It just so happened that I was in the market for a pair of accent chairs in my living room, so I couldn’t resist the urge, and I snatched them up!
I was not a fan of the fabric choice or color… and they smelled kind of funky.
I decided they would be the perfect guinea pig for my first attempt at reupholstering something more complex than a dining room chair seat cover.
Tools
Screwdriver (flat head)
Needle nose pliers
Rubber mallet (or cover a hammer head with cloth so it does not damage & leave marks on the fabric)
Paint/stain stripper
Stain
Staple gun & staples (lots of them!)
Fabric
Upholstery nails
Instructions
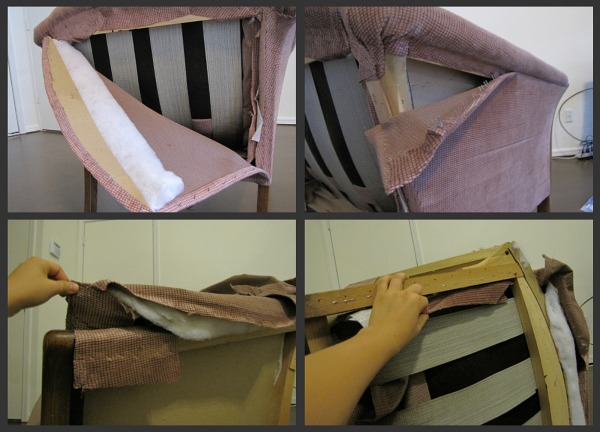
1. Remove the original fabric.
It is very important to remember where each piece went and in what order it was removed. It’s even more important to keep each piece in tact – as these serve as templates for the new fabric pieces.
I used a Sharpie to label each piece so I would not forget where each piece went.
Be sure to save the foam padding as well. You will want to a) reuse them if they are in good condition or b) use them as templates for new foam inserts. Most of the foam in my chairs was in good condition, so I was able to reuse it.
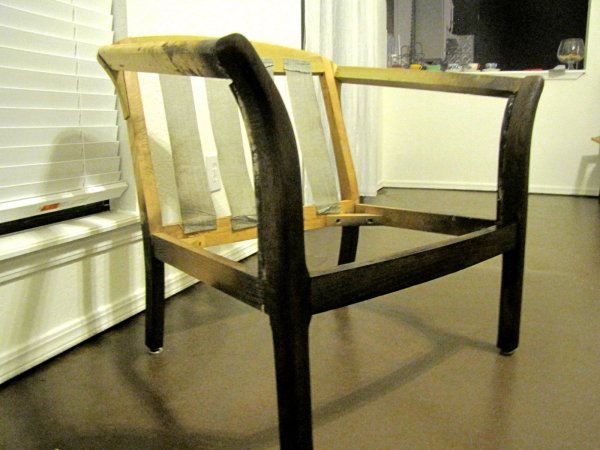
2. Strip & re-stain wood.
I did not like the light colored stain currently on the chairs, so I stripped the finish and re-stained it a darker color that would better compliment my fabric choice.
I used Citristrip to remove the finish and it worked great. No harsh smells & it worked in 30 minutes.
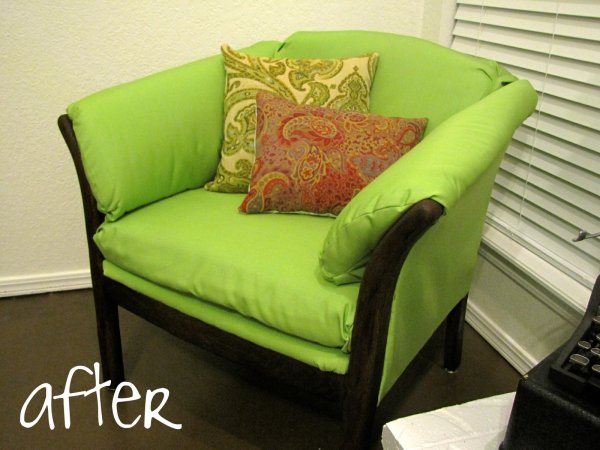
3. Sew fabric & attach to chair frame.
Using the old fabric as templates – sew the arms, back, and seat cushions.
Stuff with foam & batting and attach to frame in the proper order using staple gun.
4. Add some homemade throw pillows, and Voila!
DIY: Nightstand
If you haven’t visited Knock-Off Wood, you are missing out! Ana creates building plans for knock-offs of popular furniture. Her plans are easy to follow and have drawings to go along with them. Instead of paying hundreds of dollars for one Pottery Barn table, you can follow her plans and build enough furniture to decorate your entire home.
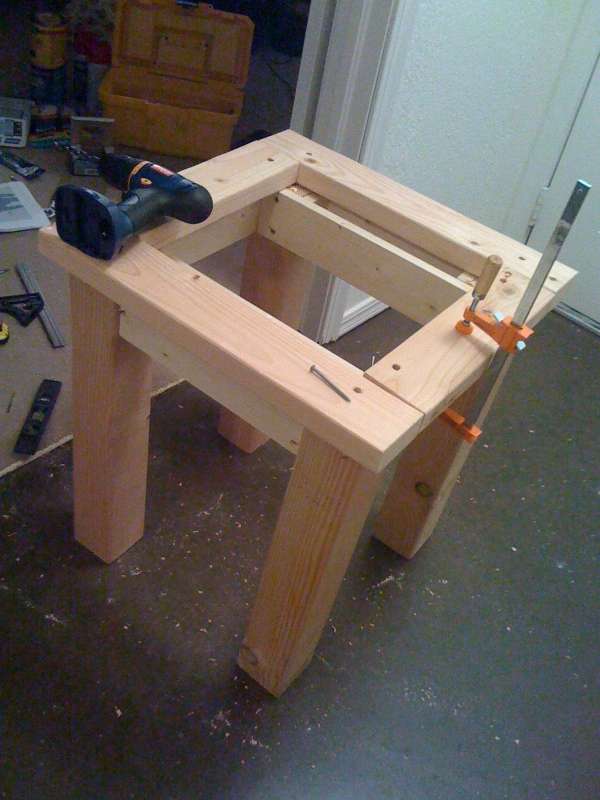
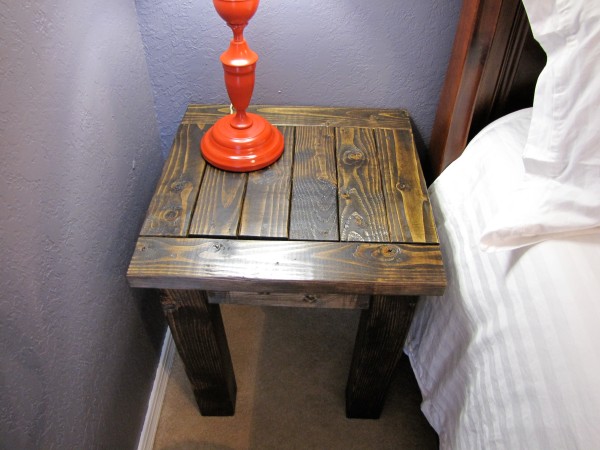
I needed a nightstand in my room, so I found Ana’s plans for this end table (a knock-off of this Pottery Barn table). I spent about $50 for materials and tools and it took me a few hours to complete the project.
Thank goodness for those clamps! Don’t think I could have finished the project without them!
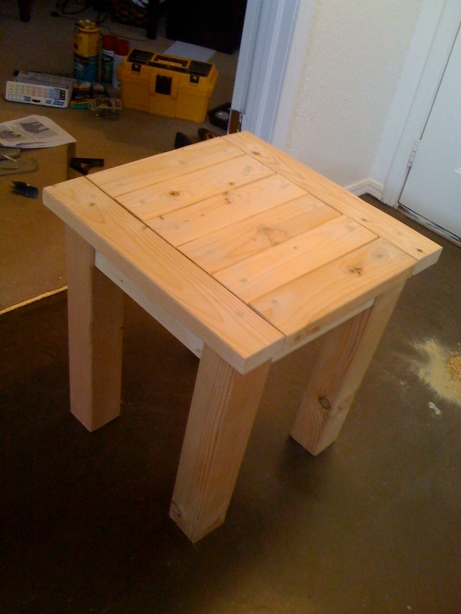
Finished the building part… now for the staining…
2 coats of stain and 1 coat of polyurethane and it’s good to go.
Tomato and Mozzarella Pasta
Ingredients:
Mozzarella Perlinis, frozen (you can substitute with normal Mozzarella, cubed)
Campanelle Pasta
Roma Tomatoes, halved & seeded
Balsamic Vinegar
Olive Oil
Basil
1. Start boiling a pot of (heavily salted) water for the pasta.
2. While the water is coming to a boil, turn on broiler. Place tomatoes on baking sheet. Drizzle tomatoes with a little olive oil, balsamic vinegar, and dried basil. Place baking sheet under broiler.
3. When water comes to a boil, add pasta and cook til al dente.
4. The tomatoes should be done the same time the pasta is.
5. Drain pasta and toss in bowl with tomatoes and mozzarella*.
I paired the pasta with some Ciabatta bread that was drizzled with olive oil and toasted in the oven. SO good!
*When you toss the mozzarella with the hot pasta, it melts and creates a big chewy blob (You can kind of see it in the photo – No good). I learned later that freezing the mozzarella beforehand will prevent this.
How To: Reupholster a Louis-style Chair
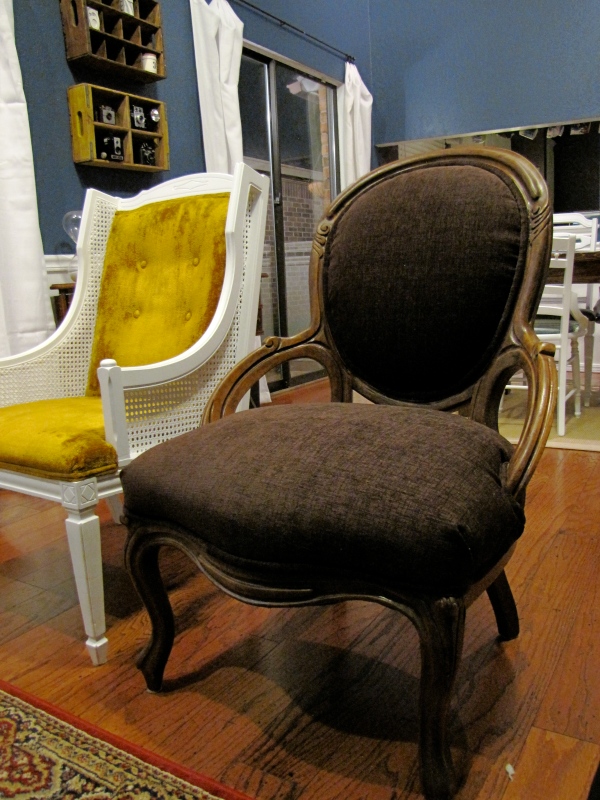
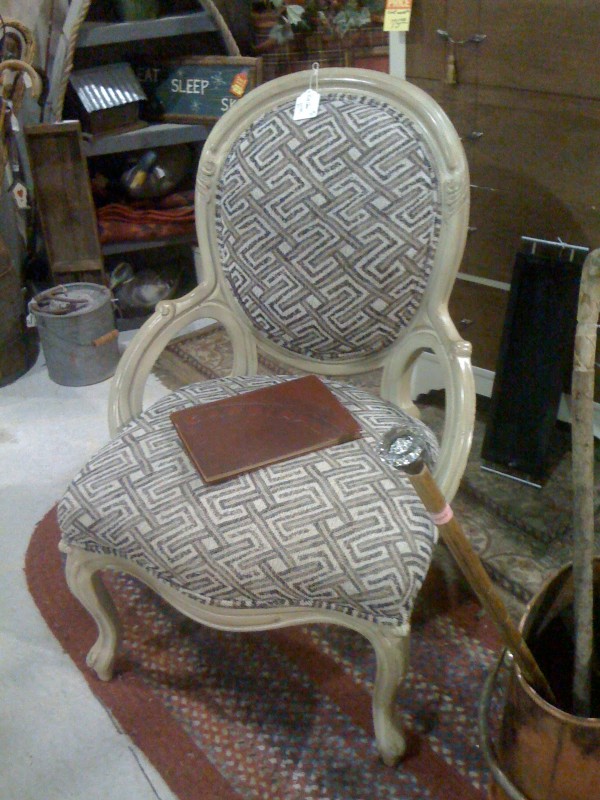 I found this Louis-style chair at The Rink and I just had to get it. I knew it could be amazing after a little bit of work.
The actual work was pretty uncomplicated, but since I had never worked with a chair like this, I psyched myself out every time I looked at it!
Removing the old fabric wasn’t difficult, but there were so many staples in it, my hand started cramping from gripping the pliers! When I was removing the old fabric, I was careful to keep all the pieces in tact and remembered how it was attached in the first place. This is probably the most important step in reupholstering furniture. The old fabric serves as a template for the new fabric.
I was super lucky that the batting was in great shape and that I didn’t have to replace it. The only tutorial I could find online that showed how to reupholster a similar chair was at PoeticHome and just looking at the photos for replacing the stuffing made me want to vomit!
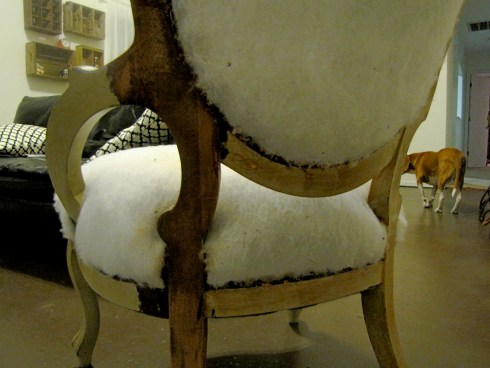
I had considered painting the wood a bright fun color like Jenny did over at Little Green Notebook, but I decided to go with my gut and stain it instead.
Stripping the old paint took a few days… those little grooves are no fun to get paint out of! I stained the wood and finished with a coat of polyurethane.
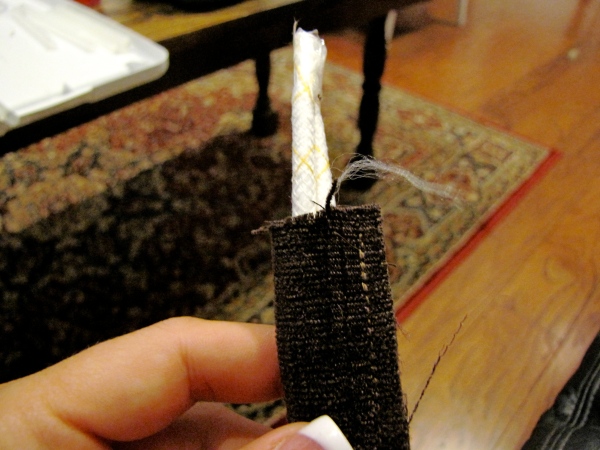
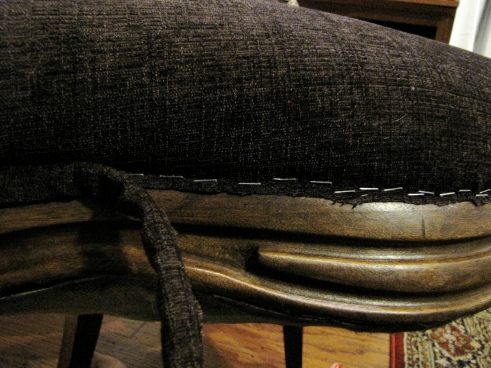 I cut pieces of the new fabric using the old fabric as templates, adding a couple of inches around the edges just to be safe. Stapling the new fabric on was one of the easiest steps of the entire project. There was a little edge of wood where the wood trim met the batting – this is where the staples went. I put solid colored fabric on the front and a coordinating print on the back.The staples were then hidden by hot gluing the piping around the edge.
